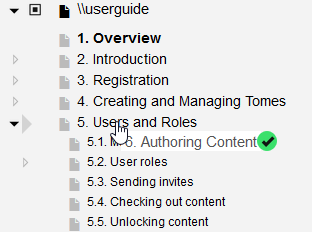
6.7. The treeview menu
One of the key tools when editing your tome is the treeview menu on the left hand side of the page. This section gives an overview of the tasks you can perform from the treeview menu, which might not be obvious when you first look at it.
6.7.1. Right-click to add content
The treeview has its own right-click menu that appears when you right-click on a section. If you want to add your first section heading, or new top-level heading, right click the root of the tome (the top element in the menu) and you'll get the option to add a new subheading of the root (i.e. a top-level heading).
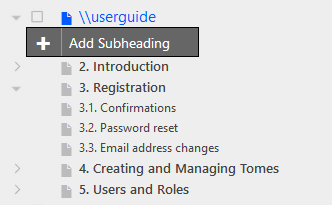
If you right-click on existing headings, their will be more options available, as you can insert any type of content.

6.7.2. Moving sections
To move sections and subsections around, simply drag and drop within the treeview menu. A small indicator arrow will appear to the left hand side of the numbers to show where the heading will be inserted. You can insert between to existing headings, or you can drag and drop onto a heading to nest the heading within that section.