6. Authoring Content
6.1. Draft and published
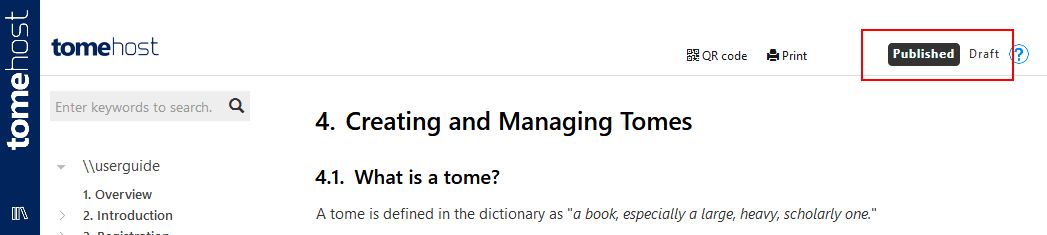
When writing content, you work in the 'draft' version. This is not visible to the public until you publish it. You can switch between the published view and the draft view with the buttons towards the top right of the page.
The draft view has a grey background to differentiate it from the published view which has a white background.
6.1.1. Archiving
There is actually a third set of content that you cannot see - the archive. Whenever you publish changes, the present 'live' content is moved to the archive, and then the draft content is published - updating the 'live' with your changes.
In the future we intend to have features that let you view previous versions of content and other archive details.
6.2. Starting off
Once you've clicked though to start working on your new blank tome, you should see an instruction to right-click on the root of the tome in order to add your first heading.
Once you have added a heading, you will see this on the screen in the main area. You will notice that as soon as you click off the text area, the content saves. You don't need to manually save as you go, any changes to text or headings or other content is automatically saved when you click elsewhere.
6.3. Content block types
Currently we support:
- Text
- Warning text (text with warning sign and red colouring)
- Info text (text with info sign and orange colouring)
- Images (with optional caption)
- Code (SQL, HTML, C#, php, etc.)
- Video (embed videos)
- File download