4. Creating and Managing Tomes
4.1. What is a tome?
A tome is defined in the dictionary as "a book, especially a large, heavy, scholarly one."
We use the term "tome" to refer to a named container of content, consisting of nested headings, and the various text, image and other content under them.
Typically you would create a tome for a particular product or service, to hold instructions or other technical information.
4.2. Creating/editing a tome
To create a tome, go to the "My Tomes" page and click the "New Tome" button.
If you upload a logo, this will appear in the 'My Tomes' list, and also at the top of the page when users view the tome.
The tome title is optional. If set, this will show as the title of the tome in the 'My Tomes' list, and also at the top of the page when viewing the tome if there is no logo uploaded.
If there is no logo or title, the tome name (a required field) will show both in the 'My Tomes' listing and at the top of the page when viewing the tome.
The description is optional, and just gives a brief overview for you own reference. We may in future pull this into an 'about' page for each tome, or provide it as popup information, so don't put any sensitive internal information here.
4.2.1. Tome name limitations
Tome names must be between 4 and 100 characters long, and may contain only upper or lowercase letters, numbers, or dashes.
The name you choose will form the address for the tome, for example a tome named "userguide", has the address:
Because the tome name is used in URLs, you should ensure that it is something that is broadly descriptive or relevant to the content.
You can change a tome name later, as long as the new name you want is not already taken. However, it is strongly advised NOT to do this once a tome is established, as existing links in search engines, forums and so on to your tome will no longer work. It makes sense to think carefully about your tome name and get it right first time.
4.3. Importing and exporting tomes as XML
tomehost can export and import tomes in an XML format called DocBook XML, which is designed for storing books. We chose this format as it is a documented standard and supports the data types we need, as well as section numbering.
The version we use is DocBook v5. For more information about the XML schema, see https://docbook.org.
Some DocBook XML files exported from third-party applications may not be recreated in their entirety within tomehost, depending on what features and types of sections they contain.
4.3.1. Exporting
There is an export button on each tome, when you view the list.

It is good practice to regularly save XML exports of your tomes as a backup. You can easily import them into a new tome if your original tome content was accidentally deleted or otherwise damaged.
4.3.2. Importing
tomehost has support for importing tomes in Docbook v5 format too. This is primarily intended for importing tomes exported from tomehost, rather than third party XML imports.
Not all DocBook v5 content features are incorporated, so you may find that third party file imports fail, or are missing some sections.
The import process will try to retrieve files such as images and downloadable files from the original tome. If these are no longer present, you may find content is missing from your new tome.
4.3.3. Cloning / duplicating a tome
There is no specific 'clone' feature, however this is simple to accomplish using the import/export features. Simply export a tome, and then reimport the file as a new tome.
4.4. Opening a tome for editing
In the listings within "My Tomes", click on the name of the tome to view that tome.
4.5. Managing tomes
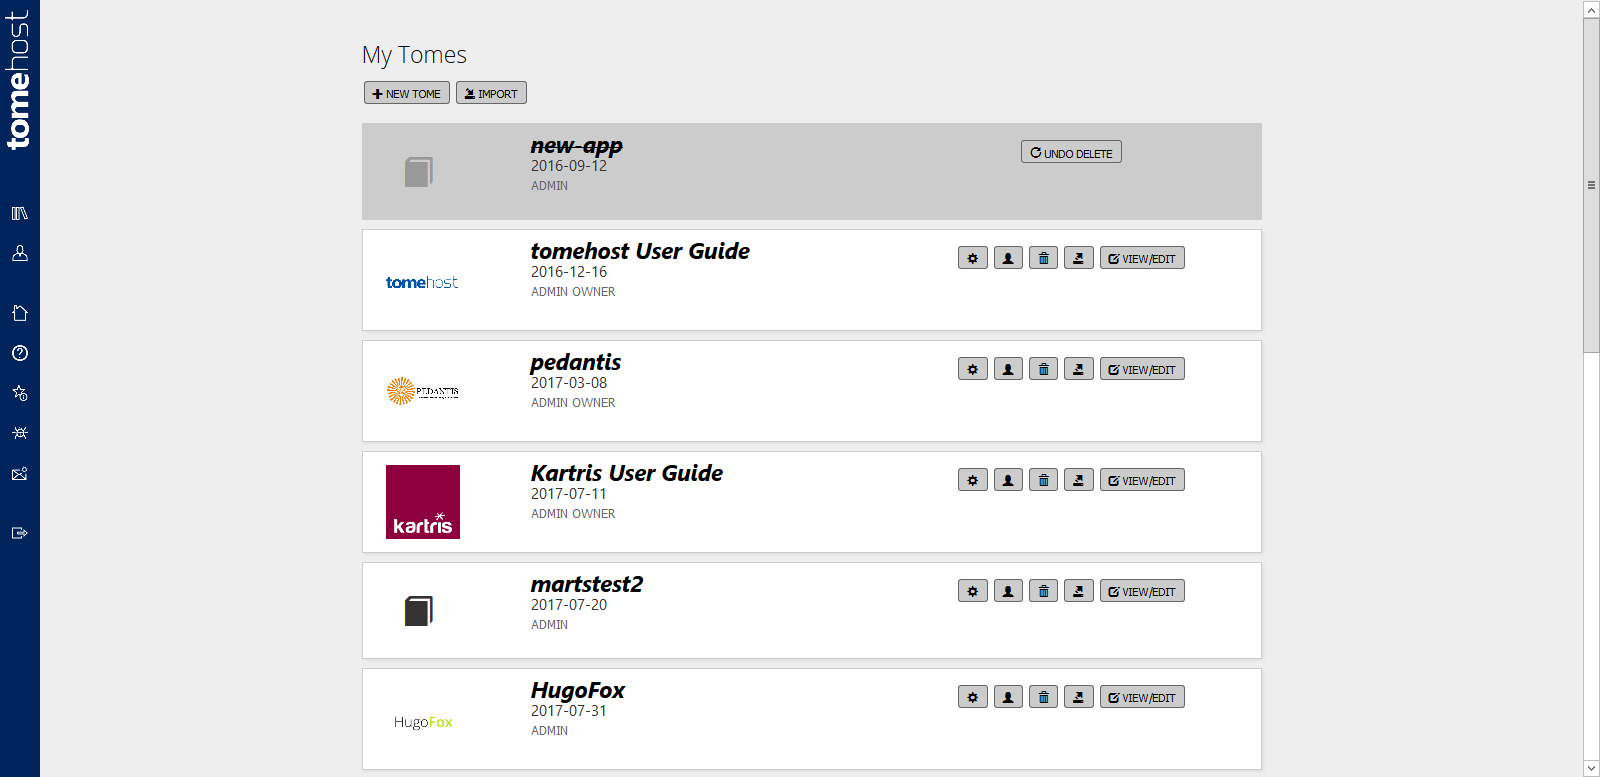
Go to "My Tomes" to list your tomes. Admins of a tome will see a full set of options, whereas contributors and editors can only view/edit tome content.
Deleted tomes will display on the system and can be undeleted for a period of a week or so, before they will be cleaned up permanently.
4.6. Public and private tomes
For tome owners who are on paid plans, there is the option to make tomes private. This means that the published version is not open to anyone to view, but instead only to registered users to whom you have given access.
Go to the tome's settings and set the 'visibility' dropdown.
You can invite members to a tome and set them as 'read-only' users for this purpose. They will not be able to make changes and can only view the published content.